Scenario editor
Create a scenario, set up the sides, and place units, using the editor built into the game.
The game has an in-game scenario editor. There is no separate tool. You open a scenario in edit mode, place units on the globe, set the victory conditions, and save. The result is a Python file you can play, edit again, or upload to the Steam Workshop.
Open the editor#
Pick Edit from the Scenario group on the start menu.
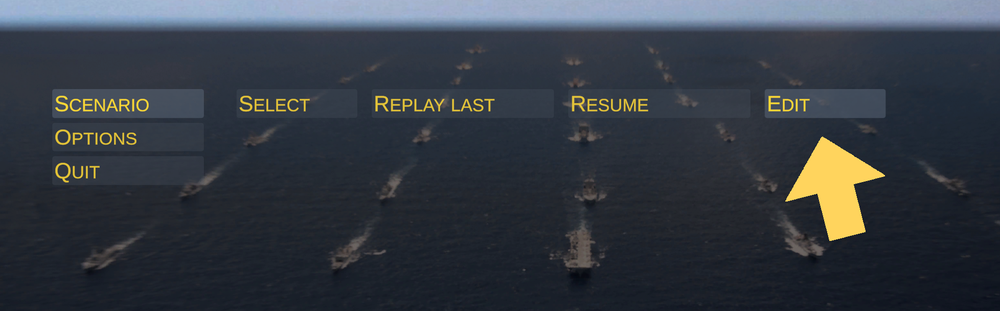
This opens the same scenario browser that Select opens, with two differences. The window is titled Edit Scenario instead of Select Scenario, and the button at the bottom right reads Edit instead of Start.
The tabs across the top are your scenario folders. Saved holds in-progress games, Workshop holds scenarios you have subscribed to or published, and any folder you create of your own appears as its own tab.
Create a scenario#
In edit mode the scenario list gains a Create New Scenario entry at the bottom.
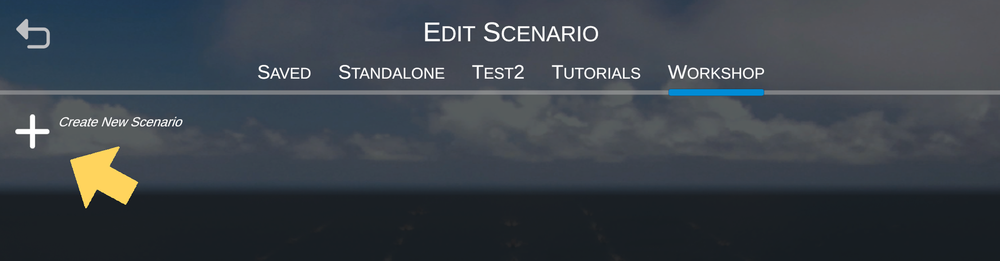
Click it and the game copies a blank template into the folder whose tab is open, names it New Scenario, and sets the start date to today. Select the new scenario to fill in its details.
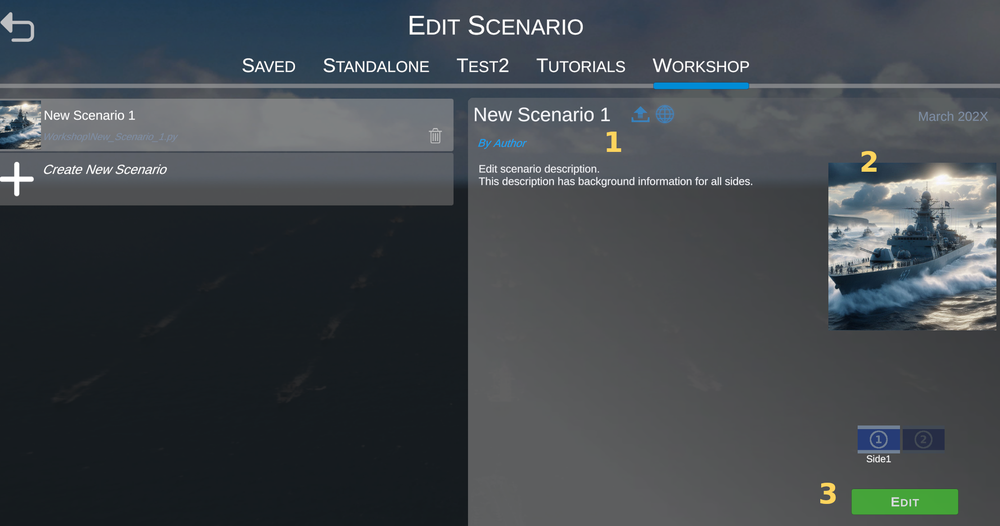
- Title, author, and description. Type into any of the three. The title also renames the file on disk, so pick it before you share the scenario. A title that starts with a digit gets
Scenput in front of it, and an empty title becomesBlank. - Thumbnail. Click the image to open a file browser filtered to
.jpg,.jpeg, and.png. The file you pick is copied into the scenario image folder. This picture is also the preview image on the Steam Workshop, so keep it under 1 MB. - Edit. Loads the scenario with edit mode switched on.
The scenarios that shipped with the game are read only. Their title, author, and description fields are locked, and saving over them fails. To build on one, use Save as in the editor to write a copy into your own folder first.
The trash icon on a scenario row deletes it, after a confirmation.
The edit toolbar#
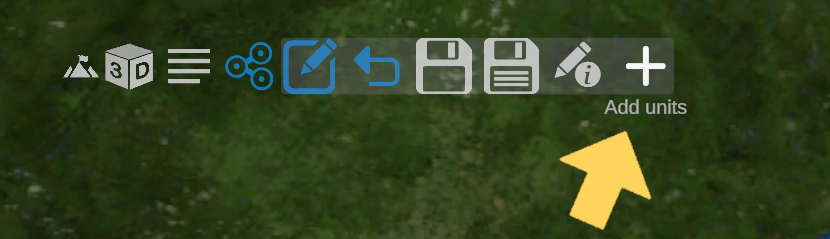
Edit mode adds six buttons to the toolbar at the top of the map.
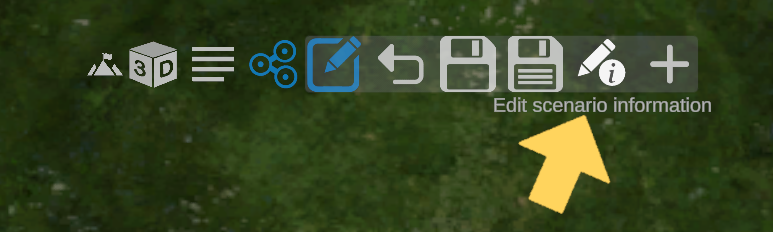
| Button | What it does |
|---|---|
| Pencil in a box | Turns edit mode on and off. The other five appear only while it is on |
| Curved arrow | Undo. Steps back to the previous edit point, and greys out when there is nothing to undo |
| Plain disk | Save |
| Ruled disk | Save as |
Pencil with an i | Opens the scenario information window |
| Plus | Opens the Add Units panel |
The two disk icons sit next to each other and are easy to confuse.
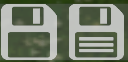
Save writes back over the file you opened and keeps a rotating set of five backups beside it. Save as asks for a file name and writes into the same folder without touching the backups. Use it to fork a stock scenario into something you can edit.
Scenario information#
The pencil-and-i button opens a window with the scenario name and start time along the top, and a row of page icons below.
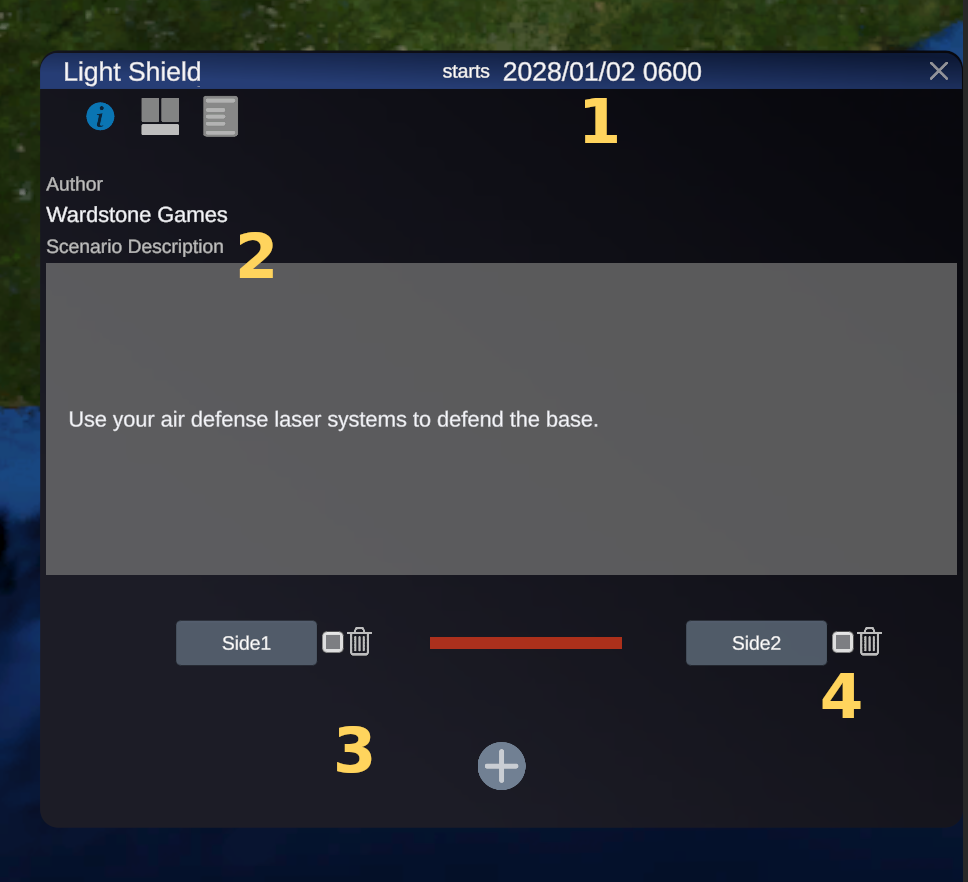
- Start time. Type it as
YYYY/MM/DD HHMMin Zulu, for example2028/01/02 0600. Anything outside 1900 to 2099 is ignored. The date matters beyond flavor, because the Add Units panel can filter the database down to what was in service that year. - Author and description. The same two fields as the browser, editable here as well. The description is background that every side reads.
- Add a side. The
+button. A scenario supports four sides. - Relationship. The colored line between two sides. Click it to cycle friendly, hostile, and neutral.
Each side box holds an editable name, a square toggle, and a delete icon. The toggle controls whether a player can take that side. Turn it off for a side you want the computer to run. A scenario with no playable side left will not start.
Side countries#
The second page icon assigns countries to a side.
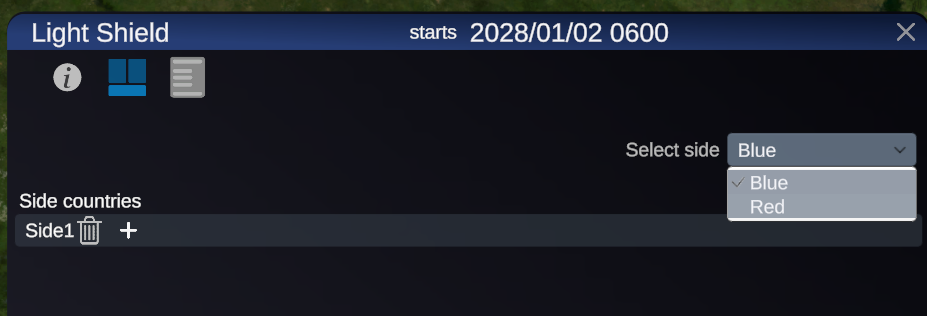
Pick a side from Select side, then use the + dropdown under Side countries to add up to four. The delete icon next to a country removes it. These countries feed the Filter country option in the Add Units panel, and setting them first makes placing units faster.
Briefings#
The third page icon holds one briefing per side. Choose the side from the dropdown and type. This is the text a player reads before taking that side, so it is the place for orders, intent, and anything one side knows that the other does not. The scenario description on the information page is shared, the briefing is not.
The goal editor has its own page in this window, covered in Goals and victory.
Add units#
The + button on the edit toolbar opens the Add Units panel.
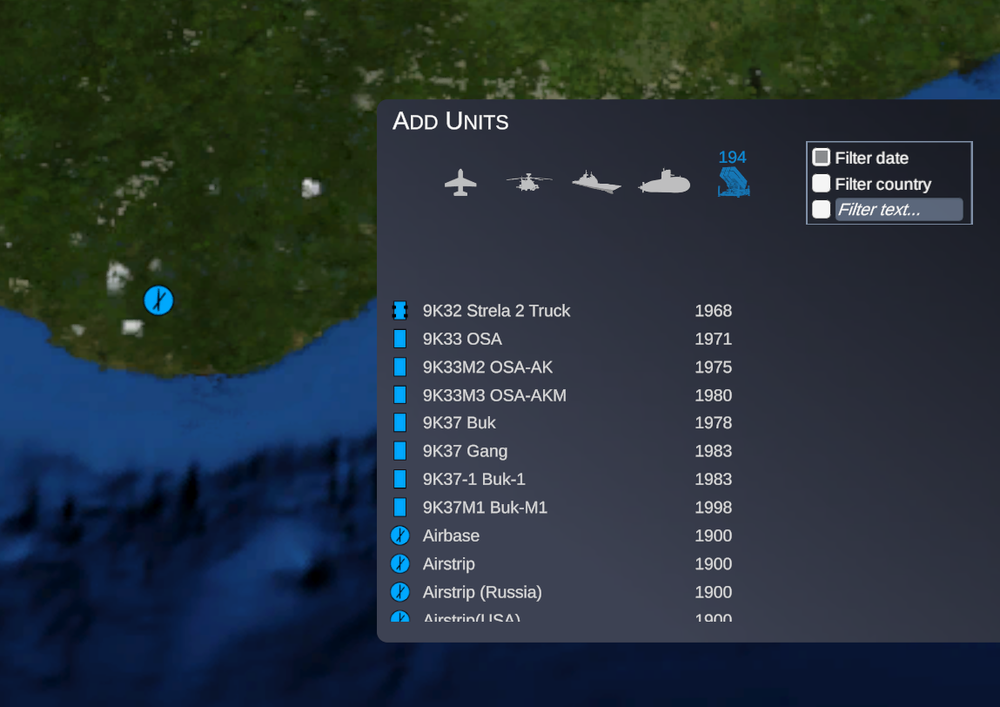
The icons across the top pick a category: fixed-wing aircraft, helicopters, ships, submarines, ground units, and satellites. The number above the active icon counts the entries currently passing the filters. The panel opens on ships.
| Filter | What it keeps |
|---|---|
| Filter date | Entries in service in the scenario's start year |
| Filter country | Entries belonging to one of the active side's countries |
| Filter text | Entries whose class name contains what you type |
The list sorts by class name and shows each entry's first year of service. Hovering a name shows the database description below the list. Clicking the name opens the full database entry, which is useful when two variants differ by more than their year.
Placing a unit#
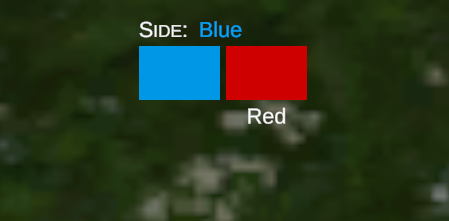
Drag a row out of the panel and drop it on the globe. The unit joins whichever side the selector at the top of the screen is set to.
Dropped units start at a default height for their type. Helicopters begin at 1000 m, other aircraft at 3000 m, submarines at 50 m below the surface, and everything else on the surface. Names come from the ship and aircraft name lists in the database if one is free for that year, so a dropped destroyer arrives with a real hull name.
Two alternatives to dragging:
- Base an aircraft. Drop an aircraft or helicopter directly onto one of your own airbases or carriers and it becomes a child of that platform instead of a unit in its own right. The game asks Add how many ? on a slider from 1 to 10, so a squadron takes one drop.
- Type coordinates. Click the small icon at the left of a row instead of dragging it. A dialog asks for a latitude and longitude, which allows placement at a specific position.
Satellites work differently because you place them in an orbit rather than at a point. Both dragging and clicking open a placement dialog holding the unit name, the right ascension of the ascending node, and the true anomaly, with the rest of the orbit shown for reference.
Editing a placed unit#
Select a unit and a row of buttons appears beside it: move, duplicate, delete, and rename. Move and duplicate both wait for you to click a destination on the map. Select several units first and the group moves or copies together, keeping its spacing. A stationary ground unit gains an eye button that marks it permanently visible to everyone, which is the way to make an airfield or a city a known fixture rather than something the other side has to find.
A unit that belongs to a formation and is not leading it gains a formation button, which switches the map into formation editing so you can drag the station around, and a second button that switches the station between a bearing relative to the leader's course and a bearing relative to north.
Everything else is on the right-click menu.
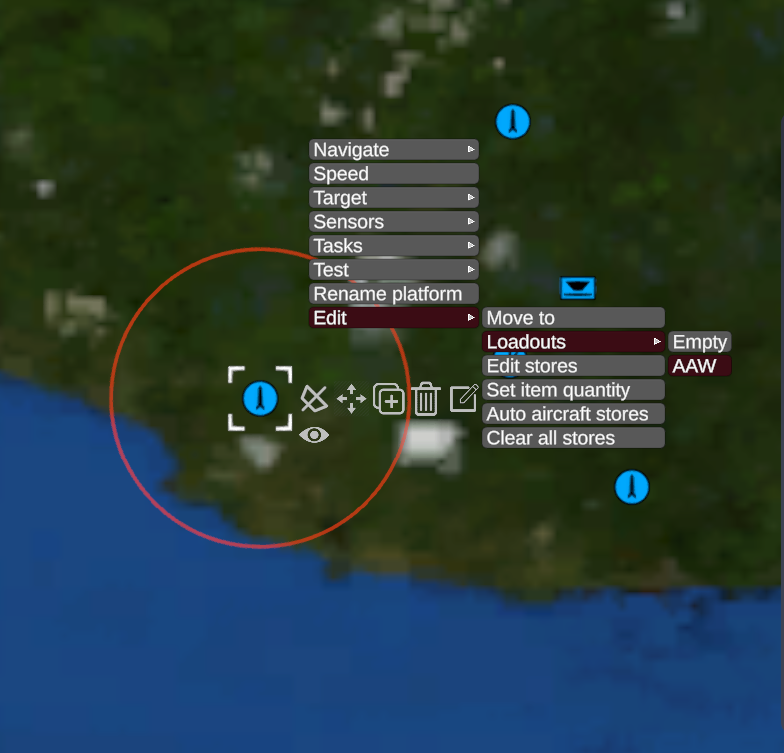
The usual entries for navigation, speed, targets, sensors, and tasks all work in edit mode and are saved with the scenario, so a unit can start the game already on a patrol route. The Edit submenu adds what only the editor can do:
| Entry | What it does |
|---|---|
| Move to | Reposition by coordinates rather than by clicking |
| Loadouts | Apply a named loadout from the database, or empty the unit |
| Edit stores | Set what sits in each launcher and magazine |
| Set item quantity | Change the round count of one item |
| Auto aircraft stores | Fill an airbase or carrier magazine to match the aircraft on it |
| Clear all stores | Strip the unit of everything |
Save your work#
Scenarios are Python files, and yours live under your user profile:
%USERPROFILE%\AppData\LocalLow\Wardstone Games\GCB Horizon\UserScenariosBeside your own folders you will find _Backup for the rotating saves, _Images for thumbnails, Saved for in-progress games, and Workshop for anything you have subscribed to.
Save before you test. Starting a scenario to try it out and then going back into the editor is the fastest way to lose an hour of placement work.